1-800-540-9051
Info@HomesteadSupplier.com
7am-4pm Pacific Time Mon-Fri
1-800-540-9051
Info@HomesteadSupplier.com
7am-4pm Pacific Time Mon-Fri
1-800-540-9051
Info@HomesteadSupplier.com
7am-4pm Pacific Time Mon-Fri
1-800-540-9051
Info@HomesteadSupplier.com
7am-4pm Pacific Time Mon-Fri
Anchoring a shed into gravel might seem challenging, but with the right steps, it's entirely manageable. At Homestead Supplier, we understand the importance of a secure garden shed foundation, which is why we've put together this comprehensive guide on how to anchor a shed into gravel.
We'll cover everything from selecting the right location and preparing the gravel base to choosing and installing the appropriate anchors.
By following these steps, you can ensure your shed remains stable and secure, even in adverse weather conditions. Our approach is rooted in years of experience and thorough research, offering you practical, easy-to-follow advice for a successful project.
Anchoring a shed is crucial to prevent it from shifting or toppling over due to wind or other external forces. The same is true whether you need to know how to anchor a shed to concrete or how to anchor a shed on skids.
According to our research and practical application, here's a step-by-step guide to help you achieve a solid, secure foundation for your shed:
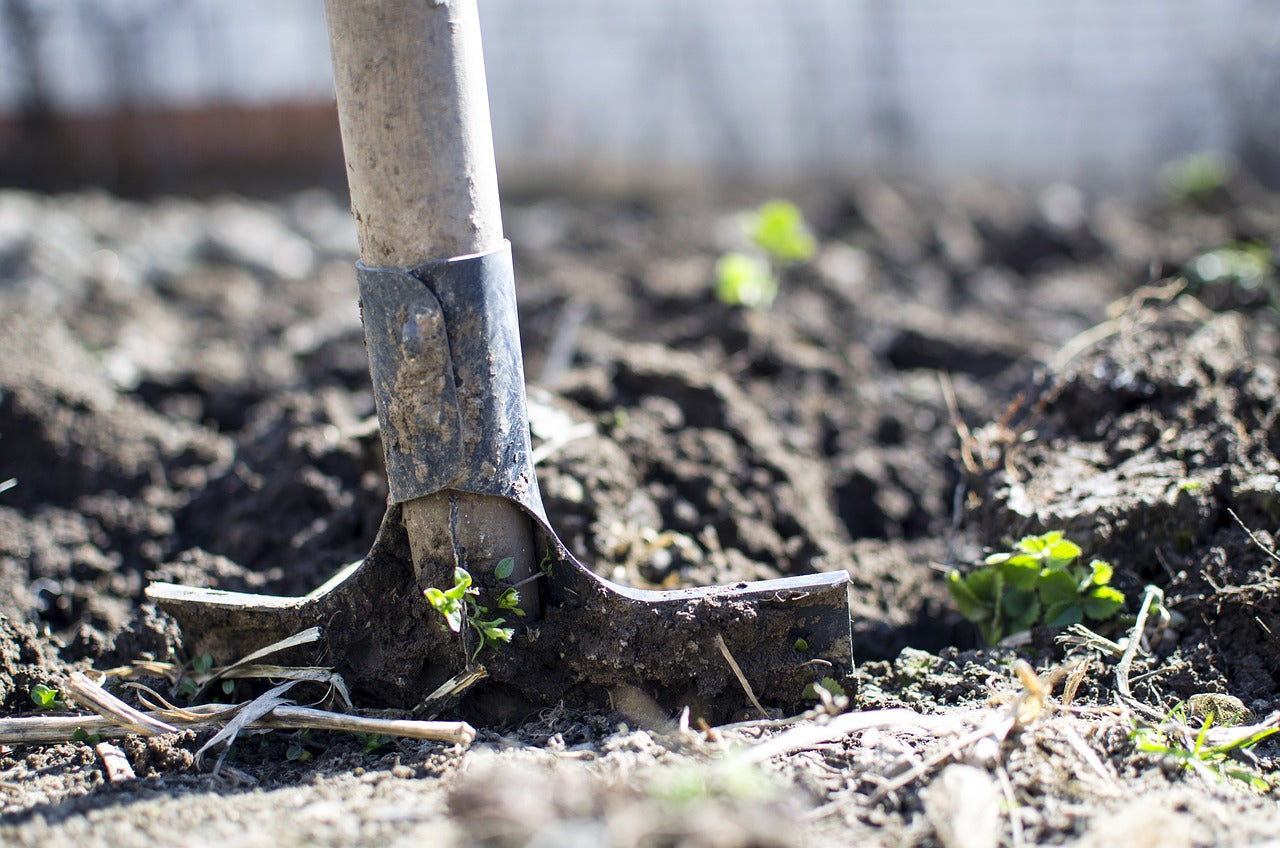
Choosing the perfect spot for your shed is the first step. The ground should be relatively level to avoid any leaning. Good drainage is essential to prevent water from pooling around the shed, which can lead to foundation issues.
Clear the area of any obstructions like rocks, roots, or debris. This makes the construction process smoother.
Don't forget to check your local building codes and zoning laws. Obtain any necessary permits to avoid future hassles. In our experience, some areas have specific regulations on where you can place a shed, how it should be anchored, and even the type of foundation required.
Creating a solid gravel base is key to anchoring your shed effectively. From our experience, using ¾” clean crushed stone is ideal. Here's how to do it:
There are several types of anchors you can use, but after putting it to the test we've found that screw anchors (like Penetrator anchors) work exceptionally well for gravel bases.
Different anchors will work for a gravel base than for how to anchor a shed to pavers. These anchors are designed to screw into the ground, providing a strong hold.

Once your gravel base is prepared, it's time to install the anchors. This step ensures your shed stays put through wind and weather. Here's how to do it:
With the anchors in place, it's time to attach the shed. This step is vital to make sure your shed is firmly secured to the ground.

The final step involves a thorough check of all connections and making any necessary adjustments. This step ensures long-term stability.
Anchoring a shed is a manageable task when you follow the right steps. Choosing the perfect location, preparing a solid gravel base, selecting the right anchors, and securing the shed properly ensures long-term stability and protection against the elements.
With careful attention to detail, you can achieve a secure and durable foundation for your shed. From our experience at Homestead Supplier, these steps will help you build a shed that stands the test of time.
Ready to start your project? Visit Homestead Supplier for all your shed-building needs and get the best secure shed kits.
Did our blog meet your needs? You might also find our other guides helpful:
Compare products
{"one"=>"Select 2 or 3 items to compare", "other"=>"{{ count }} of 3 items selected"}
Leave a comment