1-800-540-9051
Info@HomesteadSupplier.com
7am-4pm Pacific Time Mon-Fri
1-800-540-9051
Info@HomesteadSupplier.com
7am-4pm Pacific Time Mon-Fri
1-800-540-9051
Info@HomesteadSupplier.com
7am-4pm Pacific Time Mon-Fri
1-800-540-9051
Info@HomesteadSupplier.com
7am-4pm Pacific Time Mon-Fri
At Homestead Supplier, we understand the importance of a sturdy and reliable roof for your shed, which is why we've put together a comprehensive guide on how to install rolled roofing on a shed.
This method, known for its cost-effectiveness and ease of installation, is ideal for smaller structures with low-slope roofs.
Our guide will walk you through the essential tools and materials needed, the preparatory steps to ensure a smooth installation process and a step-by-step breakdown of laying down rolled roofing.
With years of experience in the field, we aim to equip you with the knowledge and confidence to either take on this project yourself or make an informed decision about hiring a professional.
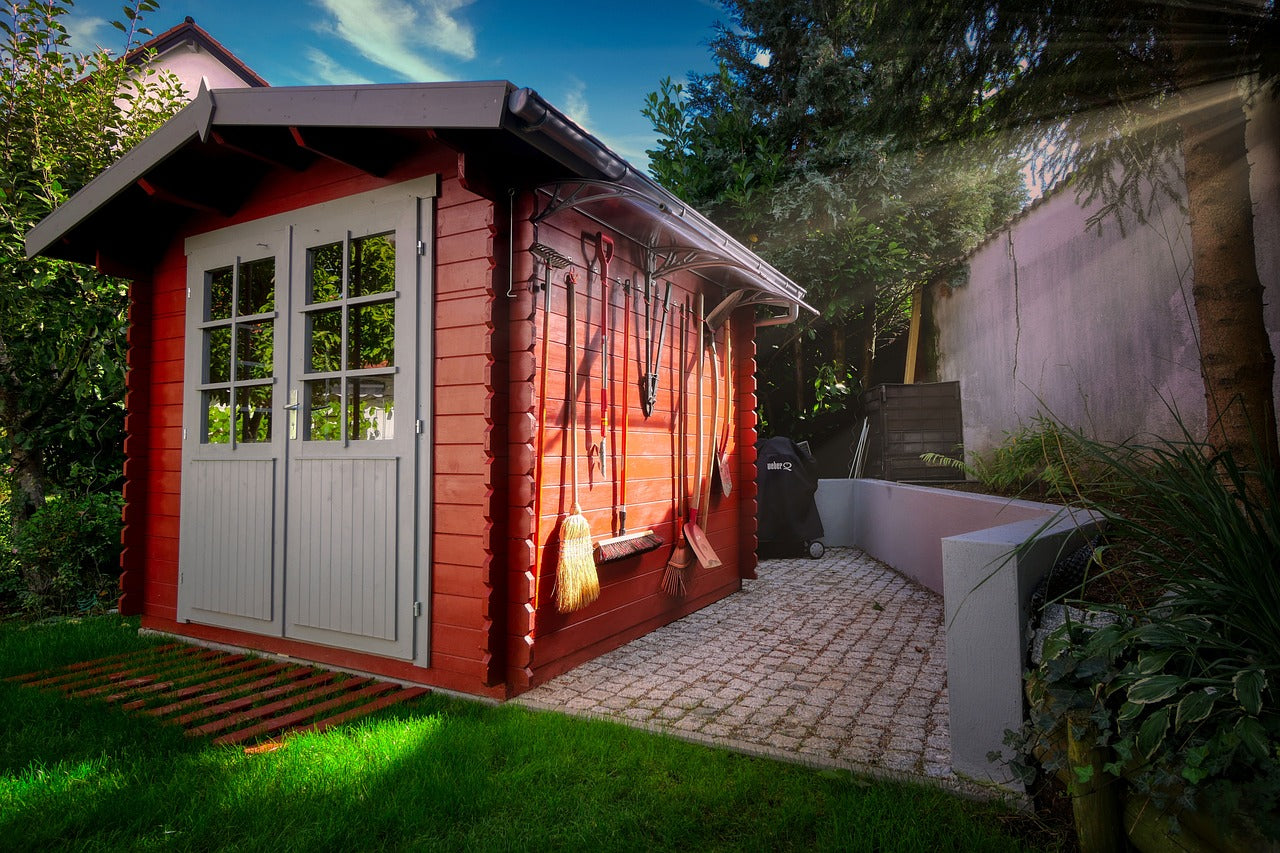
What this article covers:Rolled roofing stands out in the DIY roofing realm for its simplicity and efficiency. This roofing material comes in long rolls, typically made from the same materials as asphalt shingles but in a more flexible, sheet-like form.
It's designed for quick deployment over large areas, making it an ideal choice for covering sheds, where complex roofing solutions might be overkill.
Our years in the shed-building industry have shown us that when it comes to smaller structures, rolled roofing offers just the right balance of protection and ease.
Diving deeper into its composition, rolled roofing is a marvel of modern manufacturing. It combines asphalt, known for its waterproofing capabilities, with mineral granules that add durability and color.
This mixture is then mounted onto a fiberglass mat or organic felt, providing a sturdy base that rolls out smoothly.
This blend ensures that your roofing is water-resistant and capable of withstanding moderate foot traffic and environmental wear and tear while being more affordable than many other roofing materials.
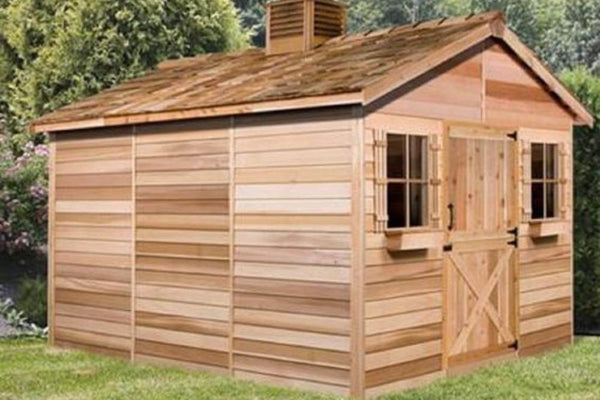
Beyond sheds, rolled roofing finds its place atop various low-slope structures. Garages, workshops, and even the occasional adventurous dog house can benefit from this versatile material.
Its adaptability makes it a go-to for many outdoor buildings, especially those that require a straightforward roofing solution without the complexities and costs associated with pitched roofs and shingles.
Our experience has shown that for utility structures, rolled roofing is often the most practical choice.
Rolled roofing brings a host of advantages to the table, making it a favored choice for many of our DIY enthusiasts and professionals alike:
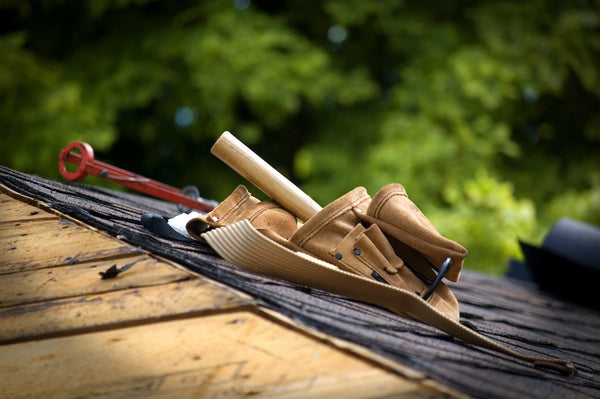
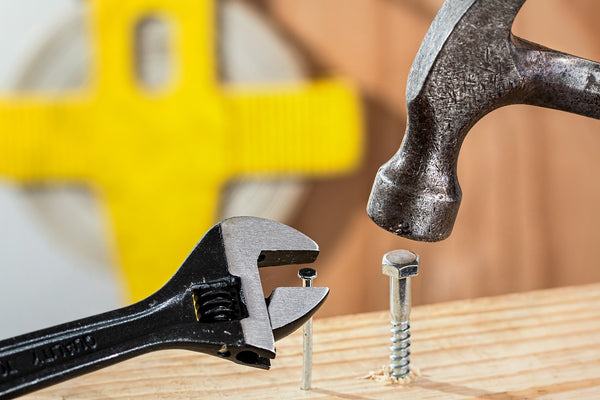
Embarking on the installation of rolled roofing requires a well-prepared toolkit and the right materials to ensure a smooth and successful project.
We recommend doing this process on a high-quality custom shed from Homestead Supplier. Here's a comprehensive list of everything you'll need to get started:
Proper preparation is the cornerstone of any successful roofing project. Before you unroll the first sheet of roofing material, there are several crucial steps to ensure your workspace is ready and safe:
Start by measuring the length and width of your shed's roof. Use a reliable measuring tape and note down the measurements, taking into account the minimum shed roof overhang.
Multiply the length by the width to get the total surface area of your roof. This will help you determine how much-rolled roofing material you'll need.
Clear away any leaves, twigs, or other debris that have accumulated on the roof. A clean surface is essential for a smooth installation.
Look for any signs of wear or damage, such as cracked or missing shingles if you're replacing an old roof. These will need to be addressed before you proceed.
Use a push broom to thoroughly sweep the roof surface. In our experience, this ensures that small particles and dust are removed, providing a clean slate for your new roofing.
The wooden structure beneath your existing roof, known as the roof deck, should be solid and free from rot or damage. Probe with a screwdriver to check for soft spots.
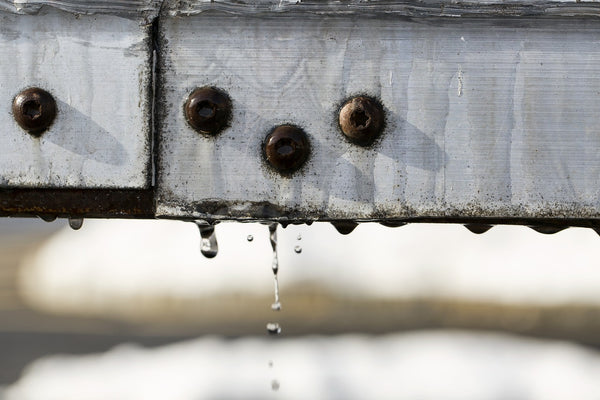
Rolled roofing should not be installed on a wet surface. Make sure the roof deck is completely dry to avoid trapping moisture, which can lead to mold and rot.
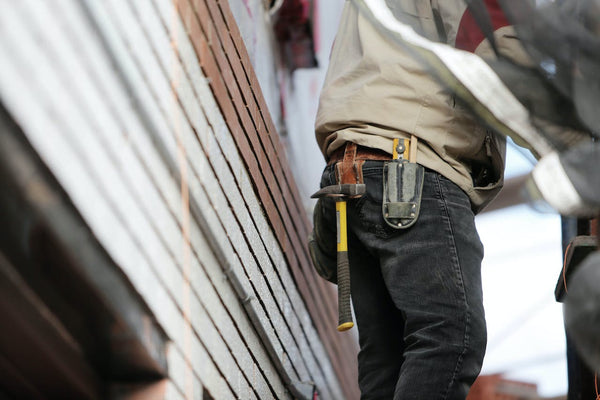
Don protective gloves to safeguard your hands from cuts and abrasions. Safety glasses are also recommended to protect your eyes from debris.
Make sure your ladder is stable and securely positioned before climbing up. It's best to have someone hold the ladder for you as you ascend and descend.
Embarking on the installation of rolled roofing on your shed can be a rewarding DIY project. With the right approach and attention to detail, you'll have a waterproof and durable roof in no time. Let's dive into each step to ensure you're fully equipped for the task ahead:
The first step in your roofing adventure is to install a metal drip edge around the entire perimeter of your shed's roof. This essential component acts as a barrier, directing water away from the edges and protecting the underlying wooden structure from water damage.
Ensure the drip edge is securely fastened and sits flush against the roof decking for optimal performance.
Before the main act, the underlayment takes the stage. This layer is crucial as it offers an additional shield against moisture, potentially extending the life of your roof.
Start at one end of the roof and roll out the underlayment parallel to the edge, making sure it's flat and wrinkle-free. Overlap each subsequent layer by a few inches to create a continuous barrier against water.
Now, it's time to introduce the star of the show - the rolled roofing material. Begin at the bottom edge of the roof, carefully aligning the roll to ensure it's straight and centered.
Gradually unroll the material across the roof's surface, taking care to smooth out any bubbles or creases as you go. This step requires a bit of finesse to achieve a flat and even layer.
With the first roll in place, it's time to anchor it down. Using roofing nails, secure the material at the recommended intervals, typically every 8 to 10 inches along the top edge and sides.
It's crucial to drive the nails straight and flush with the surface of the roofing material to avoid any potential puncture points for water.
To safeguard your shed against the elements, apply roofing cement along the edges and at any overlaps between rolls.
This step is vital for preventing water ingress at the most vulnerable points of your roof. Use a trowel or caulking gun to spread the cement evenly, ensuring complete coverage.
Continue the process of laying, nailing, and sealing as you work your way up the roof. Each subsequent roll should overlap the previous one by at least a few inches to maintain a watertight barrier.
As you approach the roof's peak or edges, you may need to cut the rolls to fit, which can be done easily with a sharp utility knife.
While individuals with a strong background in DIY and roofing might find self-installation rewarding and cost-effective, roofing entails significant risks and technical challenges.
Professional roofers offer expertise, specialized equipment, and familiarity with building regulations, ensuring the job is done safely and to high standards, often with the assurance of warranties.
Deciding between a DIY approach and professional services hinges on evaluating your skills, available time, and risk tolerance, and when in doubt, consulting with a professional can provide valuable insights to inform your decision.
If you feel up to the challenge of taking the DIY approach, you may also be interested in learning how to felt a shed roof and how to shingle a shed roof.
Installing rolled roofing on your shed is a practical and cost-effective way to ensure your outdoor structure is well-protected from the elements. Whether you decide to take on this project yourself or opt for professional installation, the key to success lies in meticulous preparation and attention to detail.
If you're looking to embark on a new shed project or upgrade an existing one, consider exploring the wide range of shed kits available at Homestead Supplier, where quality and customer satisfaction are our top priorities.
If you want to learn more, why not check out these articles below:
Compare products
{"one"=>"Select 2 or 3 items to compare", "other"=>"{{ count }} of 3 items selected"}
Leave a comment