1-800-540-9051
Info@HomesteadSupplier.com
7am-4pm Pacific Time Mon-Fri
1-800-540-9051
Info@HomesteadSupplier.com
7am-4pm Pacific Time Mon-Fri
1-800-540-9051
Info@HomesteadSupplier.com
7am-4pm Pacific Time Mon-Fri
1-800-540-9051
Info@HomesteadSupplier.com
7am-4pm Pacific Time Mon-Fri
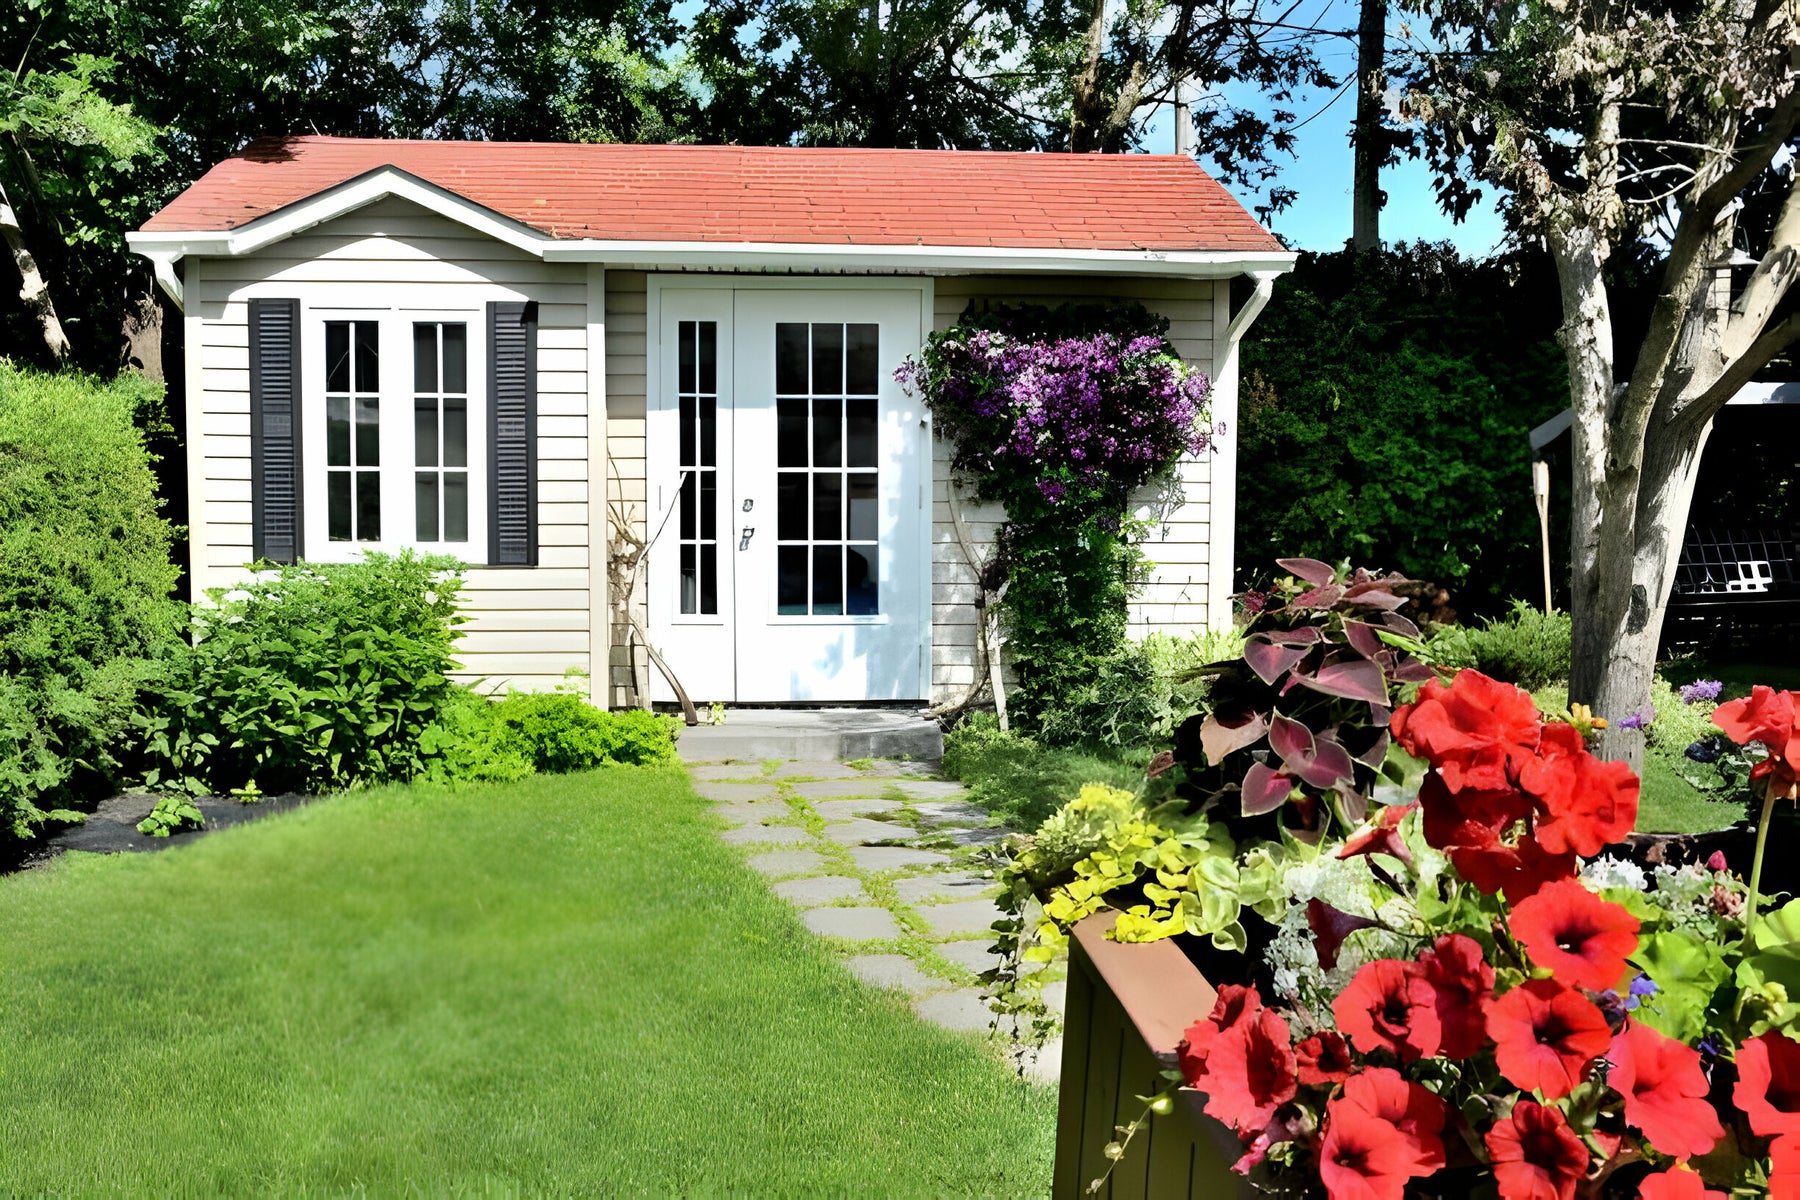
Mastering how to shingle a shed is a skill that elevates your DIY repertoire, blending functionality with aesthetic appeal.
At Homestead Supplier, we've distilled our extensive experience into a straightforward guide, covering everything from the initial selection of tools and materials to the precise execution of laying shingles and securing a watertight ridge cap.
This article is designed to demystify the process, ensuring that each step is clear and manageable, with a focus on achieving professional results that stand the test of time.
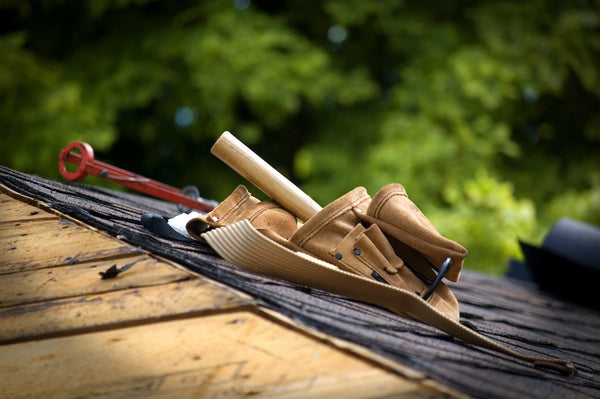
What this article covers:Before we embark on this roofing adventure, let's ensure we have all the necessary gear. From our experience, having the right tools not only makes the job easier but also ensures a professional finish. Here's what you'll need, alongside one of our high-quality shed kits:
Preparation is key! Before laying the first shingle, there are a few crucial steps to ensure your shed roof is ready:
Embarking on the journey to shingle your shed roof is a rewarding endeavor that not only enhances the look of your outdoor space but also adds an extra layer of protection to your shed. Let's dive into the detailed steps to ensure your shed roofing project is a resounding success:
The foundation of a well-shingled roof begins at the bottom edge. Here's where you'll lay the groundwork with starter shingles. Start by trimming the tabs off a few shingles to create a flat, uniform starter strip.
This strip is crucial as it provides the first row of full shingles something to adhere to, ensuring a snug fit. When placing these starter shingles, allow for a slight overhang past the drip edge—about a quarter to a half-inch should do the trick.
This overhang is your shed's first defense against water runoff. Be sure to meet the recommended minimum shed roof overhang. Secure these starter shingles in place with roofing nails, spacing them about 6 inches apart for a firm hold.
With your starter strip in place, it's time to introduce the first row of full shingles. This step sets the tone for the entire roofing project, so precision is key. Align the bottom edge of the first shingle with your starter strip, ensuring it's perfectly straight.
A straight edge or level can be invaluable here. Once aligned, nail the shingle into place, adhering to the manufacturer's recommended nailing pattern. Typically, this involves four to six nails per shingle, positioned to maximize hold and minimize exposure to the elements.
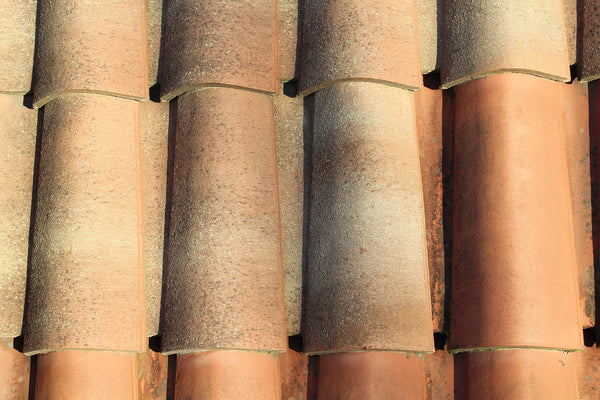
Now that the stage is set, continue the process up the roof. Each subsequent row of shingles should overlap the one below it by about 5 inches, a technique that ensures water flows off the roof without seeping underneath the shingles.
To maintain straight rows, snap chalk lines horizontally across the roof as guides. As you approach the roof's peak and edges, you may need to trim shingles to fit. A utility knife with a roofing blade is the tool of choice here, allowing for precise cuts and a clean fit.
The pinnacle of your shingling project is, quite literally, capping the ridge. This step is about more than just aesthetics; it's about sealing the deal against water intrusion. Start by cutting the tabs off the shingles to create ridge cap pieces.
These pieces should then be bent over the ridge, straddling both sides of the roof. Secure each piece with nails, ensuring they're covered by the next overlapping cap shingle. This overlapping pattern continues along the ridge, culminating in a watertight and visually pleasing finish.
To ensure your shingling project is a cut above the rest, here are some insider tips:
Timing is everything, especially when it comes to outdoor projects like shingling a shed. Aim for a day with mild weather, ideally in the spring or fall when temperatures are moderate.
Extreme heat can make shingles overly pliable and difficult to handle, while cold weather can render them brittle and prone to cracking. A comfortable, cloudy day is your best bet for a smooth installation process.
Precision is the name of the game in shingle installation. Before cutting any shingles, double-check your measurements to ensure they'll fit perfectly.
Use a chalk line to mark where each row of shingles will go, ensuring they're straight and evenly spaced. This attention to detail will pay off in a roof that's not only functional but also aesthetically pleasing.
It might be tempting to use fewer nails to save time or materials, but each shingle needs to be securely fastened to withstand the elements.
Follow the manufacturer's recommendations for nail placement and quantity. Typically, four to six nails per shingle are standard, placed in the designated nailing area to avoid leaks and ensure each shingle lays flat against the roof.

Having the right tools on hand can make your shingle installation project much easier. A roofing nail gun can save time and energy, while a good-quality utility knife is essential for cutting shingles to the right size.
Don't forget a sturdy ladder, safety gear, and a roofing hammer for those finer adjustments
Before you start nailing down shingles, plan out your roof's layout. This includes deciding where to start and in which direction to lay the shingles.
Starting from the bottom and working your way up is standard practice, but also consider the roof's slope and any architectural features that might affect shingle placement.
Roof work can be risky, so prioritize safety at all times. Wear non-slip shoes, use a safety harness if the roof is particularly steep, and never work on the roof alone.
Keeping an eye on the weather is also crucial; avoid working on windy or rainy days when the risk of slipping is higher.
Once your shingles are installed, it's wise to check for potential leaks before considering the job done. Inspect the roof carefully, paying special attention to the areas around chimneys, vents, and other protrusions.

This is important for any kind of roofing, including when you install roll roofing on shed. A well-sealed roof is the key to ensuring your shed stays dry and protected year-round.
Mastering the art of shingling a shed is an invaluable skill that not only enhances the aesthetic appeal of your outdoor space but also fortifies your shed against the elements.
From laying the foundational starter shingles to meticulously installing each subsequent row and capping off the ridge, each step is crucial in ensuring a durable and watertight roof.
If you're ready to embark on this rewarding DIY journey, Homestead Supplier is here to provide you with all the high-quality materials and tools you need. Visit us today and take the first step towards transforming your shed into a sturdy and stylish haven.
Did our blog meet your needs? You might also find our other guides helpful:
Compare products
{"one"=>"Select 2 or 3 items to compare", "other"=>"{{ count }} of 3 items selected"}
Leave a comment