1-800-540-9051
Info@HomesteadSupplier.com
7am-4pm Pacific Time Mon-Fri
1-800-540-9051
Info@HomesteadSupplier.com
7am-4pm Pacific Time Mon-Fri
1-800-540-9051
Info@HomesteadSupplier.com
7am-4pm Pacific Time Mon-Fri
1-800-540-9051
Info@HomesteadSupplier.com
7am-4pm Pacific Time Mon-Fri

Understanding how to set up solar panels for shed is a game-changer for many homeowners. Solar energy not only offers an eco-friendly power source but also transforms sheds into fully functional workspaces, studios, or retreats.
In this guide, we'll outline the essential steps, from sizing your solar panels to the installation process, ensuring you harness the sun's power efficiently.
We'll also explore the types of solar panels suited for sheds, the benefits of going solar, and the additional components needed to complete your setup.
With a focus on practicality and efficiency, we aim to equip you with the knowledge to make informed decisions about powering your shed with solar energy.
What this article covers:
Absolutely! From our experience, solar panels are a perfect match for running electricity to a shed. Whether you're lighting up your workspace or powering tools, solar energy is efficient, eco-friendly, and, after the initial setup, extremely cost-effective!
Just be sure to check local regulations to check power to shed requirements for your solar panels.
The size of the solar panel you need depends on your shed's energy consumption. After putting it to the test, we've found that a small setup can suffice for basic lighting and charging tools. But, if you're planning on running heavy machinery, you might need to beef up your solar array.
It varies. But don't worry, we'll guide you through calculating your energy needs to figure out the number of panels. Generally, a couple of panels are enough for moderate use.
Setting up solar panels might seem daunting, but it's quite straightforward. Before starting, we recommend that you know how to waterproof a shed and what to put around bottom of shed to keep water out so that your electrical equipment stays safe.
The first step is crucial; it lays the foundation for your entire solar setup. Start by listing all the devices and tools you plan to use in your shed. Consider everything from lighting and charging tools to any appliances or gadgets that will require power.
Calculate the total wattage these devices will consume during their use. This total will guide you in determining the capacity of the solar system required to meet your shed's energy demands.
After installing our fair share of solar panels, we've found that it's always better to overestimate slightly to ensure you have enough power, even on less sunny days.
Selecting the right solar panels is paramount to the efficiency of your system. At Homestead Supplier, our experience has shown that Bluetti solar panels stand out for their reliability and performance, making them an excellent choice for shed installations.
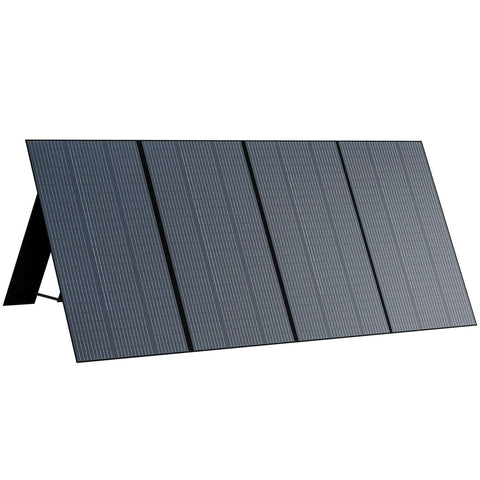
Consider the wattage, efficiency, and physical size of the panels to ensure they fit your shed's roof and meet your energy needs. It's also wise to think about future expansions; opting for panels that allow for easy system scaling can save you a lot of hassle down the line.
Maximizing sunlight exposure is key to an efficient solar setup. In our experience, the ideal location is usually the roof of your shed, as it often provides the most unobstructed access to sunlight throughout the day.
When scouting for the perfect spot, take note of any potential shade from trees, buildings, or other structures that could hinder sunlight, especially during peak sun hours. The orientation of the panels is also critical; in the northern hemisphere, panels should face south to capture the most sunlight.
Mounting your panels securely ensures they remain safe and effective over time. Most solar panels come with a mounting system, which typically includes brackets and hardware. If you're mounting on the roof, ensure the structure can support the weight of the panels.
Use the provided brackets to attach the panels to the roof, following the manufacturer's guidelines to ensure proper angle and orientation for optimal sun exposure. Waterproofing is also crucial; make sure all mounts are sealed correctly to prevent leaks.
Wiring your solar panels to a generator or battery system is where your setup comes to life. Start by connecting the solar panels to a charge controller, which regulates the voltage and current coming from the panels to ensure the battery is charged efficiently.
From the charge controller, wires will run to your solar battery or generator, like the reliable options offered by Bluetti, storing the energy for your use. Ensure all connections are secure and insulated to prevent any power loss or electrical hazards.
With everything connected, it's time to bring your solar-powered shed to life. Activate your system according to the manufacturer's instructions, which usually involves switching on the charge controller and the inverter, if your system includes one.
The inverter converts the DC electricity generated by your panels and stored in your battery into AC power, which is what most shed appliances and tools use.
Once powered on, monitor your system's performance to ensure everything is working as expected, making adjustments as necessary to optimize efficiency.
Not all spots on your shed are ideal for solar panels. These are some areas to avoid:

The perks of going solar are numerous. Let's break down some of the benefits:

When it comes to solar panels, there's a variety to choose from:
Costs can vary widely based on your needs and the type of panels you choose. Generally, a small setup can start from a few hundred dollars, but it's an investment that pays off in the long run.

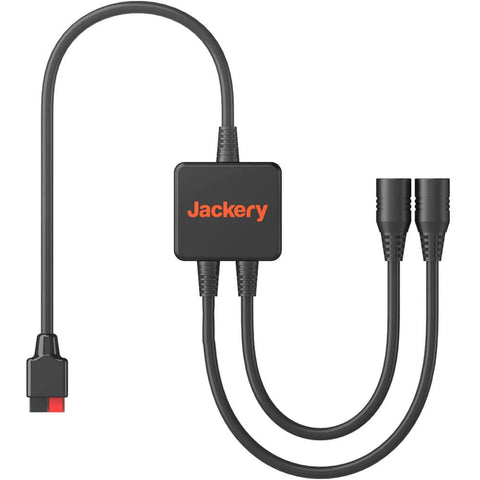
Besides the panels, you'll need a few extras like a solar generator or battery for energy storage, and possibly an inverter. We recommend the following:
Setting up solar panels on your shed is a straightforward process that brings a multitude of benefits, from sustainability and reduced carbon footprint to cost savings and increased property value. For homeowners looking to extend solar energy beyond the shed, Suntrek Solar specializes in residential solar solutions covering rooftop PV panels, solar pool heating, and solar water heating, helping households get the most out of every hour of sunlight

Remember, the key to a successful solar setup lies in the details, such as selecting high-quality extras like solar generators, batteries, and inverters, which are crucial for the efficiency and reliability of your system.
For those ready to embark on this rewarding journey, Homestead Supplier offers a range of top-notch shed kits, solar panels, and solar generators designed to meet your needs and exceed your expectations.
If you want to learn more, why not check out these articles below:
Compare products
{"one"=>"Select 2 or 3 items to compare", "other"=>"{{ count }} of 3 items selected"}
Leave a comment