1-800-540-9051
Info@HomesteadSupplier.com
7am-4pm Pacific Time Mon-Fri
1-800-540-9051
Info@HomesteadSupplier.com
7am-4pm Pacific Time Mon-Fri
1-800-540-9051
Info@HomesteadSupplier.com
7am-4pm Pacific Time Mon-Fri
1-800-540-9051
Info@HomesteadSupplier.com
7am-4pm Pacific Time Mon-Fri
Ever looked at that empty space at the top after building a wooden shed and thought, "I could use that!"? Well, you're not alone.
Many of our customers at Homestead Supplier have expressed the desire to maximize their shed's potential by adding a loft. And from our experience, it's a fantastic way to utilize unused space, whether for storage, a workspace, or even a cozy nook.
After putting it to the test, we've compiled a guide to teach you how to build a loft in a shed assembled using one of our Homestead Supplier's shed kits.
What this article covers:Much like a wood ramp for shed, a loft can enhance your shed. But before diving into the process, gather the following tools and materials:
When embarking on the journey of adding a loft to your shed, the first pivotal decision you'll face is choosing the type of loft that best fits your needs. There are two primary options: full lofts and partial lofts.
A full loft is expansive, stretching from one end of the shed to the other, effectively covering the entire roof space. It mirrors the concept of an attic in a traditional home, providing a vast area that can be utilized for storage, workspace, or even a cozy relaxation spot. This type of loft is especially beneficial if you're looking to maximize the available overhead space in your shed.
In contrast, a partial loft is more selective about the space it occupies. It covers only a specific section of the roof space, leaving the rest open. This design is ideal for those who want to benefit from elevated storage or workspace without committing the entire roof area. It offers a balance, allowing you some open vertical space in your shed.
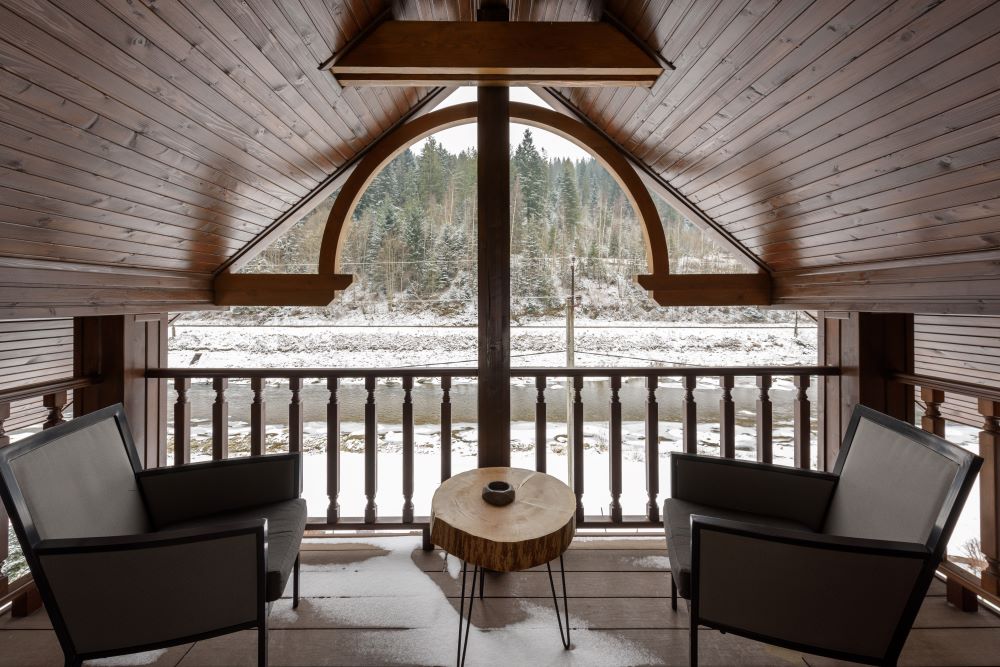
Now, if you're wondering which shed design is most conducive to adding a loft, our research points towards the gambrel roof. Our Little Cottage Company Classic 4' Gambrel Barn Shed is the perfect example of this.
Characterized by its distinctive two-sided, double-sloped design, the gambrel roof provides a spacious interior. The unique curvature of this roof style not only adds aesthetic appeal but also creates an ample height in the center, making it perfect for a loft.
Whether you're considering a full or partial loft, a shed with a gambrel roof will likely offer the most room to bring your vision to life.
If you're still in the roof construction phase of your shed, be sure to learn how to make roof rafters for a shed.
When it comes to building a loft, the foundation is everything.
Here, that foundation is built on the strength of the floor joists. These horizontal supports play a pivotal role, bearing the weight of everything you place on the loft, from boxes of old memories to your own weight while you're up there.
Starting with the basics, joists are typically made from sturdy lumber. For smaller lofts, where the primary purpose might be light storage, 2x4s often suffice. They provide adequate support without being overly bulky, ensuring that the loft remains stable under limited weight.

But, if you're envisioning a more expansive loft space, perhaps one where you can comfortably walk around, store heavier items, or even set up a workspace, then strength becomes paramount. In such cases, we advocate for the use of 2x6 joists. These thicker beams offer enhanced durability and can handle increased weight.
From our experience, this is the best way to install them:

The subfloor is the unsung hero of any loft, providing a solid base that ties the entire structure together.
First and foremost, the material you choose for your subfloor is crucial. Plywood stands out as a top contender, known for its durability and ease of installation. It's a composite material made of multiple layers of wood veneer pressed together, resulting in a sturdy sheet that can handle the demands of a loft.
But, not all plywood sheets are created equal. The thickness you choose should be in sync with the spacing of your floor joists. For instance, if your joists are spaced closer together, you might get away with a thinner sheet. But if they're spaced further apart, a thicker plywood sheet will make sure that the subfloor remains stable and doesn't sag under pressure.

The method you choose for accessing your loft can significantly influence its usability and safety.
For those with smaller lofts, where the primary goal might be to retrieve a box or two occasionally, a step ladder can be the perfect solution. It's portable, easy to move around, and doesn't require any permanent alterations to your shed. Just ensure that the ladder is sturdy, has anti-slip feet, and is tall enough to allow for comfortable access.
On the other hand, if your loft is more expansive, perhaps a space where you'll be spending more time or storing heavier items, a more robust solution is in order.
Adding a loft to your shed is not just about creating extra space; it's about maximizing the potential of what you already have. With a bit of effort and the right tools, you can transform your shed into a multi-functional space.
And remember, if you ever need assistance or a custom storage shed kit to start with, Homestead Supplier is here to help. We have you covered with everything from small storage sheds to large farmhouse sheds.
If you want to learn more, why not check out these articles below:
Compare products
{"one"=>"Select 2 or 3 items to compare", "other"=>"{{ count }} of 3 items selected"}
Leave a comment