1-800-540-905
Info@HomesteadSupplier.com
7am-4pm Pacific Time Mon-Fri
1-800-540-9051
Info@HomesteadSupplier.com
7am-4pm Pacific Time Mon-Fri
1-800-540-905
Info@HomesteadSupplier.com
7am-4pm Pacific Time Mon-Fri
1-800-540-9051
Info@HomesteadSupplier.com
7am-4pm Pacific Time Mon-Fri

Running electricity to a shed transforms a simple storage space into a versatile and functional area, whether it's for hobbies, work, or relaxation.
This guide delves into the essential steps, from securing necessary permits and planning your electrical layout to the practicalities of digging trenches and laying conduits.
With a focus on safety and adherence to local regulations, we'll navigate through the complexities of how to run electricity to a shed. Stay tuned for tips and tricks to streamline the process and ensure your shed's power supply is both efficient and up to code.
What this article covers:To bring power to your shed, you'll need a collection of tools and materials that will ensure a safe and efficient installation. Here's a quick rundown:
First things first, let's talk planning and permissions. Before you even think about laying a single cable, it's crucial to understand your local zoning regulations. Do you need a permit to run electricity to a shed?
While most areas will allow you to electrify your shed, you'll most likely need a permit to do so. Trust us, securing the necessary permits upfront can save you a world of hassle later on.
Safety is paramount, so if you're not entirely comfortable with electrical work, don't hesitate to hire a professional. It's better to be safe than sorry, as we always say after putting it to the test in our own projects.
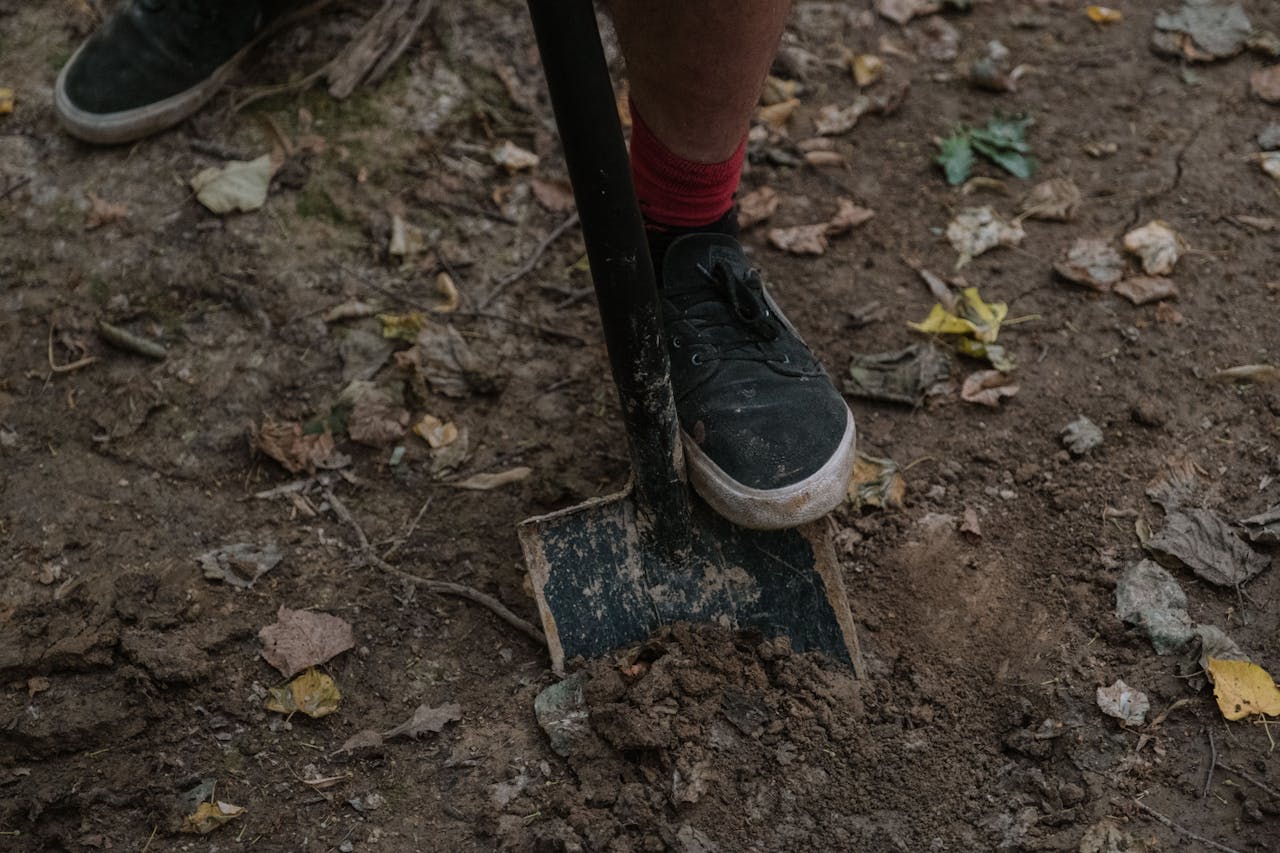
Once you've got your permits in hand, it's time to dig a trench. This is where your electrical cables will live, safe from the elements.
According to our research and hands-on experience, you'll want to bury these cables at least 18 inches deep to comply with most codes. Remember, the path from your main panel to your shed should be as direct as possible to avoid unnecessary work and potential hazards.
Next up, we're laying the conduit. This protective casing is your cable's best friend, shielding it from moisture, pests, and any accidental shovel strikes during future gardening endeavors.
If you opt for a metal conduit, you might get away with a shallower trench, around 6 inches deep, which can be a real back-saver.
With your conduit in place, it's time to thread your electrical wires through. This step can be a bit tricky, so having an extra pair of hands can be incredibly helpful. Once your wires reach the shed, leave a bit of extra length on each end to make your connections easier.
Then, it's just a matter of connecting your wires to the appropriate outlets, switches, and fixtures inside your shed.
Running electricity to your shed can have a whole ton of benefits, such as for shed cooling and regulating shed temperature.
Once your wires have made their journey to the shed, it's time to give them a purpose by installing electrical outlets. This step transforms those hidden cables into accessible power sources for all your tools, gadgets, and lighting needs.
Begin by mapping out where you want these power hubs to be—think about the layout of your shed and where you'll need electricity the most. Will you have a workbench brimming with power tools? Or perhaps a cozy corner for a mini-fridge and a radio?
Position your outlets strategically to cater to these needs. Secure the outlet boxes to the shed's interior walls, connect the wires carefully, and attach the faceplates. It's like giving your shed a set of power portals, ready to energize whatever you plug in.

Plug in a simple lamp or a radio into one of your new outlets and flip the switch. That soft glow of light or the crackle of the radio coming to life is not just electricity flowing; it's a signal of your success. Testing each outlet ensures that every corner of your shed is powered up and ready for action.
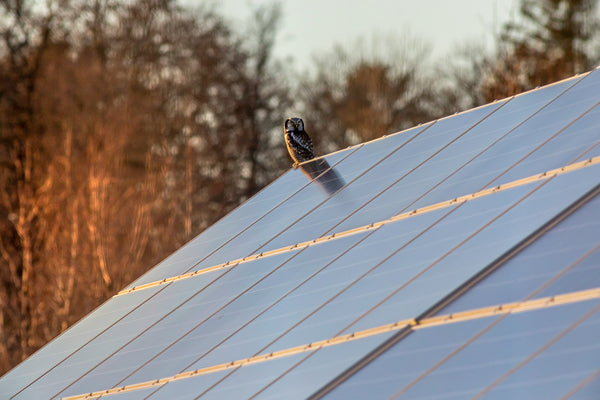
Feeling hesitant about the complexities of wiring or concerned about the distance between your house and shed? Solar power might just be the solution you're looking for.
Systems like our Bluetti solar generators are a green alternative that can harness the sun's energy to power your shed, reducing your carbon footprint and possibly even your energy bills. They're especially handy for locations bathed in sunlight, proving that sometimes the best solutions come straight from nature.
If you're new to solar power, be sure to check out our guide on how to set up solar panels for shed. It can be a fantastic alternative to grid power for how to keep a shed warm in winter.

Before the shovel hits the soil, make that essential call to 811. This isn't just a friendly suggestion; it's a crucial step to ensure you don't accidentally disrupt underground utilities like gas, water, or electrical lines.
This service is not only free but also a legal requirement in many places. In our experience, a quick call can save you from potential hazards and hefty fines, making it a non-negotiable part of your project planning.
After pouring your effort and time into this project, the final and perhaps most critical step is to have your electrical setup inspected. This isn't about ticking a box; it's about ensuring the safety and reliability of your electrical system.
An inspection verifies that your work aligns with local codes and safety standards, providing peace of mind that your shed's power supply is secure and up to snuff. Remember, this step underscores the integrity of your project, ensuring that your electrified shed is both a functional and safe space.
Electrifying your shed can transform it from a simple storage space to a fully functional workshop, office, or cozy retreat. While the process requires careful planning, adherence to safety standards, and possibly a bit of elbow grease, the result is undoubtedly worth it.
Remember, if any step of the process seems overwhelming, there's no shame in calling in the pros.
At Homestead Supplier, we're all about making your homesteading dreams come true, safely and efficiently. Explore our range of shed kits for the perfect addition to your outdoor space.

If you want to learn more, why not check out these articles below:
Compare products
{"one"=>"Select 2 or 3 items to compare", "other"=>"{{ count }} of 3 items selected"}
Leave a comment