1-800-540-905
Info@HomesteadSupplier.com
7am-4pm Pacific Time Mon-Fri
1-800-540-9051
Info@HomesteadSupplier.com
7am-4pm Pacific Time Mon-Fri
1-800-540-905
Info@HomesteadSupplier.com
7am-4pm Pacific Time Mon-Fri
1-800-540-9051
Info@HomesteadSupplier.com
7am-4pm Pacific Time Mon-Fri

Knowing how to square a shed is essential for a solid, functional structure that stands the test of time. Squaring ensures that doors close properly, walls align, and the entire shed remains stable.
This guide covers everything you need to know, from preparing a level foundation to measuring the frame and securing walls in place. Through years of experience and research, we've developed easy-to-follow steps that will help you achieve a perfectly squared shed.
Whether you're new to shed building or just want a quick refresher, these expert tips will keep your project on track for a sturdy, professional result.
Here's what you need to do to ensure that your shed is squared, stable, and ready for anything the weather throws its way:
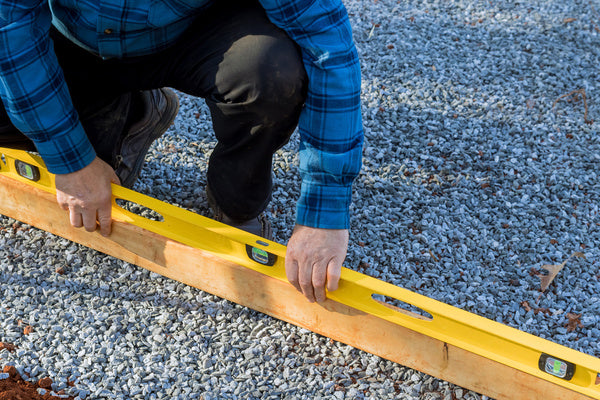
Before you start squaring, it's essential to have a stable, level foundation. According to our research, an uneven base can make the entire structure off-kilter, causing you endless frustration as you try to square your shed walls.
From our experience, this initial groundwork is crucial. A well-prepared foundation will save you hours of adjusting and make the rest of the build smoother.
Once your foundation is level and ready, it's time to start framing. When framing your shed, measuring the diagonals will tell you if you're on the right track.
If you're working with a specific size, it can be helpful to know the square footage you should be aiming for, such as 10x16 shed square footage, 12x16 shed square footage, or 10x20 shed square feet.
With the base squared, it's time to lock in that hard-earned alignment with some bracing. Bracing will keep your shed frame in place and stable as you move forward with the build.
Temporary bracing is often overlooked, but after years in the industry, we know this step prevents a world of hassle down the road.

After your floor and corner bracing are solid, it's time to start adding the walls. Here's where attention to detail matters most!
This is where experience pays off. It might seem tedious to keep measuring, but every time you check, you're ensuring a sturdier shed. Knowing the correct height for your shed can be helpful here, such as how tall is a 10x12 shed.
When all four walls are in place and aligned, it's time to lock them in. A final check at this stage will give you the confidence to move on to the roof and finishing touches.
From our experience, this last measurement is the most satisfying part. Check your final measurements against your shed plans, such as 12x24 shed square feet. With everything perfectly aligned, your shed will look professionally built and last longer, too.
Squaring a shed is a crucial step that guarantees durability and a polished, professional appearance. By preparing a level foundation, measuring the frame diagonally, securing corners with bracing, adjusting each wall, and performing final checks, you'll build a shed that's sturdy, properly aligned, and ready for long-term use.
Attention to these details can save you from future repairs and enhance the overall functionality of your shed. If you're ready to start building and need high-quality materials or a complete kit, explore our expertly designed shed kits at Homestead Supplier to make your project as seamless as possible.
If you want to learn more, why not check out these articles below:
Compare products
{"one"=>"Select 2 or 3 items to compare", "other"=>"{{ count }} of 3 items selected"}
Leave a comment