1-800-540-905
Info@HomesteadSupplier.com
7am-4pm Pacific Time Mon-Fri
1-800-540-9051
Info@HomesteadSupplier.com
7am-4pm Pacific Time Mon-Fri
1-800-540-905
Info@HomesteadSupplier.com
7am-4pm Pacific Time Mon-Fri
1-800-540-9051
Info@HomesteadSupplier.com
7am-4pm Pacific Time Mon-Fri

Knowing how to put a foundation under an existing shed is essential to maintaining its stability and preventing long-term damage. If a shed isn't properly supported, it can sink, lean, or suffer structural issues over time.
In this article, we'll walk through the steps needed to raise a shed, build a new foundation, and secure it in place.
From assessing the shed's current condition to choosing between gravel or concrete block foundations, we cover everything you need to ensure your shed stands strong. These straightforward methods are based on years of hands-on experience and expert research.
Before you start raising anything, you need to evaluate what you're working with. Do you need a base for a shed? According to our research, some sheds just need leveling, while others require more serious foundation work.
Check whether your shed has sunk in one corner, shifted, or is uneven overall. Walk around it, inspecting the structure and the ground. If you notice significant leaning or gaps under the shed, those are signs you need to take action.
If you're planning on constructing a more permanent shed foundation, we would recommend checking your local building codes and regulations to ensure that you have the correct permits.

You're going to need the right tools for the job. After putting it to the test, we recommend having the following on hand:
From our experience, using the right jack to lift the shed is crucial. Choose one with a high weight capacity to avoid damaging the shed or making the task unnecessarily difficult.
This is where things get interesting. You'll want to lift your shed evenly to avoid damaging the structure.
Place the hydraulic jack under a solid point of the frame (usually the corners or beams), and lift it slowly. Raise each side of the shed a few inches at a time, alternating between corners to keep the shed level as it rises.
Remember: patience is key. Lifting the shed too quickly can result in warping or even structural damage.
Before moving on to the next step, make sure that you understand how deep should shed footings be and does a shed slab need footings.
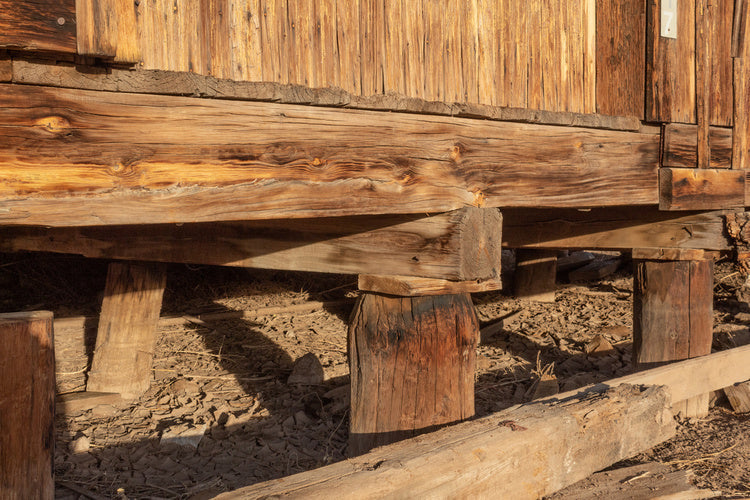
Once the shed is lifted and securely supported, it's time to build the foundation. Depending on your preference and local conditions, you can choose between a gravel pad or a concrete block foundation.

For most cases, gravel is an excellent choice because it allows for better drainage, which prevents rotting over time.
Both options have been proven reliable by our years of installing and leveling sheds for satisfied customers. For extra guidance, check out our guide on how to build a shed foundation with deck blocks
Once your new foundation is ready, carefully lower the shed back onto it. Do this slowly and make sure you check the level as you go. You may need to make minor adjustments by adding or removing gravel or blocks to keep everything balanced.
To make sure your shed stays level over the long term, it's a good idea to secure it. You can do this by adding tie-downs, brackets, or even concrete piers, depending on the climate and how permanent you want the foundation to be.
For high-wind areas, anchoring is especially important. We've found that investing in these extra precautions makes a huge difference in the longevity of your shed.

Putting a foundation under an existing shed may seem like a big project, but by following these steps, you can ensure your shed remains sturdy and level for years to come.
From assessing the current condition to lifting the shed and installing a solid foundation, each step is crucial in maintaining the integrity of your structure. Whether you choose a gravel pad for easy drainage or opt for concrete blocks for added stability, the result is a more secure and durable shed.
If you're ready to take your shed project to the next level, check out the high-quality shed kits and supplies available at Homestead Supplier to get started today!
If you want to learn more, why not check out these articles below?
Compare products
{"one"=>"Select 2 or 3 items to compare", "other"=>"{{ count }} of 3 items selected"}
Leave a comment